Getting started
Introduction …
The Badge comes with a preinstalled Micropython interpreter. Python should be the easiest way to control the device and write apps for The Badge, especially if you are a beginner or don’t want to spend a lot of time downloading tools and debugging drivers.
First, make sure Python is installed and you didn’t accidentally
delete it. Check in the apps menu. If it’s not there: install the
Python app from the Hatchery by going to Hatchery -> ESP32 native binaries -> Utility -> Python and install it either onto the flash or
onto an SD card.
If you have it already installed, make sure to check that you have the latest
version via App update.
There are several ways to run badgepython and develop badgepython applications. None of them are particularly well documented, so it’s up to you to explore what you can do and how to do it in a smart way.
In case you are interested in improving the documentation, we would be very happy to receive pull requests.
Here are a few starting points:
Run Python interactively
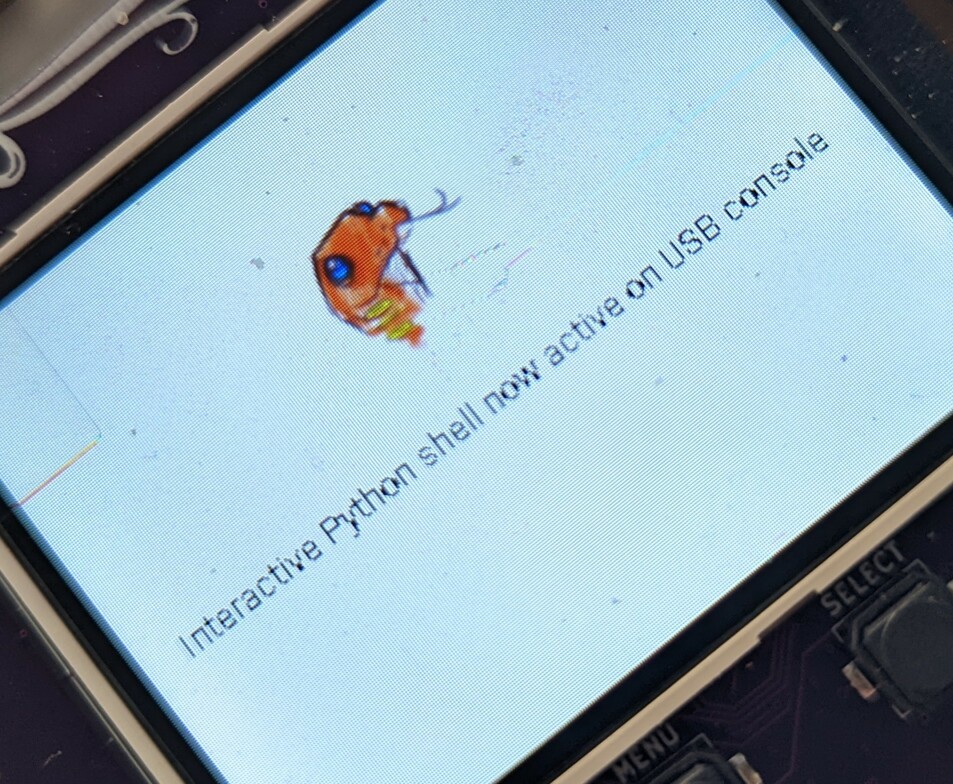
Start Python on your badge (apps -> Python). There should be a message on
screen that an interactive Python console is availble on your USB serial
connection. Baud rate is 115200. Connect to it using a serial terminal of your
choice (e.g. screen /dev/tty<your_serial> 115200. On MacOS, your_serial
is probably .usbmodem101; on Linux probably ACM0. You may also use other
terminal emulators such as PuTTY or picocom based on your OS and/or
preference). The badge typically exposes two serial ports, simply try - one
should give you access to a terminal. If terminal gives a totally black screen, press enter to see the prompt appear.
You can now run python interactively. For example, run print("That was easy!"). Amazing!
$ picocom /dev/ttyACM0 -b 115200
>>> print("That was easy")
That was easy
If you are having problems connecting to the serial console, please check here !
Not only is the terminal a great way to try stuff out, it also allows easy
access to The Badge’s file system. Type import os, then os.listdir("/") to
see the root filesystem. A FAT partition is mounted on the badge’s internal
flash at /. If you inserted a MicroSD card,
its contents will be mounted at /sd. You can traverse the directories with
os.listdir() (and you will see that Python apps live at
/apps/python/<appname>/). You can create and remove directories with
os.mkdir and os.rmdir and delete files os.remove. Don’t screw up your
filesystem too badly. More documentation on basic micropython’s OS
library is available in the MicroPython
documentation.
Try using the screen:
>>> import display
>>> display.drawFill(0xFF0000)
>>> display.flush()

display is a badge-specific module. There are several Badge-specific modules.
You can find documentation on them
api-reference
(they might not be all fully up-to-date, but good enough for a start). In
addition there is also a mch22 module that offers a few badge-specific APIs.
Finding out about it’s features is left as an exercise to the reader (hint:
import mch22, dir(mch22)).
Try some of the other APIs
Check in the API Reference for a list of APIs that work on the MCH2022 Badge, Try some of these APIs out in the emulator. Please be aware that you can’t expect APIs to work just because they have a green checkmark. It’s only a suggestion!
Use the mch22 module
There is an mch22 module with a lot of convenience functionality.
GPIO
The badge has 4 GPIO pins, 2 on the SAO header and 2 more near the prototype area.
| Silkscreen Label | RP2040 GPIO | MicroPython GPIO |
|---|---|---|
| 16 (May Contain Hardware) | GPIO 16 | mch22.PROTO_0_PIN |
| 17 (May Contain Hardware) | GPIO 17 | mch22.PROTO_1_PIN |
| GPIO1 (Shitty Add-On) | GPIO 18 | mch22.SAO_IO0_PIN |
| GPIO2 (Shitty Add-On) | GPIO 19 | mch22.SAO_IO1_PIN |
For example, to turn on a simple led on a Shitty Add-On:
import mch22
mch22.set_gpio_dir(mch22.SAO_IO0_PIN, True)
mch22.set_gpio_value(mch22.SAO_IO0_PIN, True)
Display Brightness
You can set the LCD backlight brightness in 255 steps. 0 is completely off.
import mch22
mch22.set_brightness(255)
print(mch22.get_brightness())
# 255
Read USB and battery voltages
import mch22
print(f'USB: {mch22.read_vusb():.3f}V    Battery: {mch22.read_vbat():.3f}V')
# USB: 4.868V    Battery: 4.123V
Develop microPython apps in the emulator
Uri Shaked a.k.a Wokwi built an awesome emulation of the badge that runs in your browser. This is an amazing way to quickly get started with app development. It’s not as fast as your badge, but it implements a surprising amount of the peripherals. Just try it.
Run an app on the Badge itself
Have a look at your Badge’s filesystem and the example apps in the
Hatchery (btw: browsing the hatchery is a great
resource for examples). You will see that each app resides in its own directory
/apps/python/<appname>. The main entry point is the __init__.py script
inside that directory. The directory may contain other python sources and
resource files. Apps stored in the internal flash reside in /apps/python,
apps on the (optional) SD card reside in /sd/apps/python/.
Create an app folder on your Badge’s filesystem (let’s call it
/apps/python/myapp in this example). There are two ways to create a
new app folder for your app: either connect to the BadgePython interactive
shell (screen, PuTTY, …), and create the directory with the os
package:
>>> import os
>>> os.listdir("/apps/python")
['citycontrol', 'someapp']

>>> os.mkdir("/apps/python/myapp")

>>> os.listdir("/apps/python")
['citycontrol', 'someapp', 'myapp']
or use the mch2022 tools to create a new folder from your laptop:
$ python webusb_fat_ls.py /flash/apps/python
Booting into WebUSB, please wait ...
transfer speed: 2.32 kb/s
Directory listing for "/flash/apps/python"...
Directory "citycontrol"
Directory "someapp"

$ python webusb_fat_mkdir.py /flash/apps/python/myapp
Starting...
/internal/apps/python/
Succesfully created directory

$ python webusb_fat_ls.py /flash/apps/python
Booting into WebUSB, please wait ...
transfer speed: 20.32 kb/s
Directory listing for "/flash/apps/python"...
Directory "citycontrol"
Directory "someapp"
Directory "myapp"
Now it’s time to write some code on your laptop using a text editor of your choice. If you’re not sure what and how to program, you can use the following example:
import display
import random

def drawRandomLine():
  x1 = random.randint(0,320)
  x2 = random.randint(0,320)
  y1 = random.randint(0,240)
  y2 = random.randint(0,240)
  color = random.randint(0,0xFFFFFF)
  display.drawLine(x1,y1,x2,y2,color)
  display.flush()

display.drawFill(0xFFFFFF)
while True:
  drawRandomLine()
This program will clear the screen and then draw random lines infinitely.
Save that file as, say, __init__.py.
To upload the file to the Badge, you can clone the mch2022 tools. This repository contains scripts to upload files to the badge via WebUSB.
Python apps reside in the FatFS partitions inside the badge’s internal
flash and/or the optional SD card, so you should use the
webusb_fat_*** scripts from the tools
project. Try python3 tools/webusb_fat_ls.py /. You will see that the root directory listing
contains two entries: flash and sdcard (the mount points for the
internal and external partitions).
$ python3 webusb_fat_ls.py /
transfer speed: 1045.4196368656173
Directory listing for "/"...
Directory "flash"
Directory "sdcard"
Warning: Confusion. Pandemonium. Chaos!
The paths in the filesystems are different depending on whether you
access them internally via the os MicroPython API or whether you adress
them externally via the webusb_fat... scripts
Internally, i.e. from MicroPython (or native apps) are prefixed with
sd if they are located on the optional SD-Card.
Externally, i.e. from the webusb_fat...py scripts, paths pointing to
internal files are prefixed with flash and paths pointing to the SD
Card are prefixed with sdcard. *
¯\ (ツ)/¯
Copy the __init.py__ file.
Call python3 tools/webusb_fat_push.py <file on your laptop> <file on The Badge> to upload your file to the Badge (don’t
forget to adjust the path for your laptop). You should see a
progress message and a success message on the terminal and your badge screen.
If you get a Unicode error, you can probably fix it by changing the fill
character in the webusb.py script (two occurrences).
$ python webusb_fat_push.py __init__.py /flash/apps/python/myapp/__init__.py
transfer speed: 28560.15516885618
File uploaded
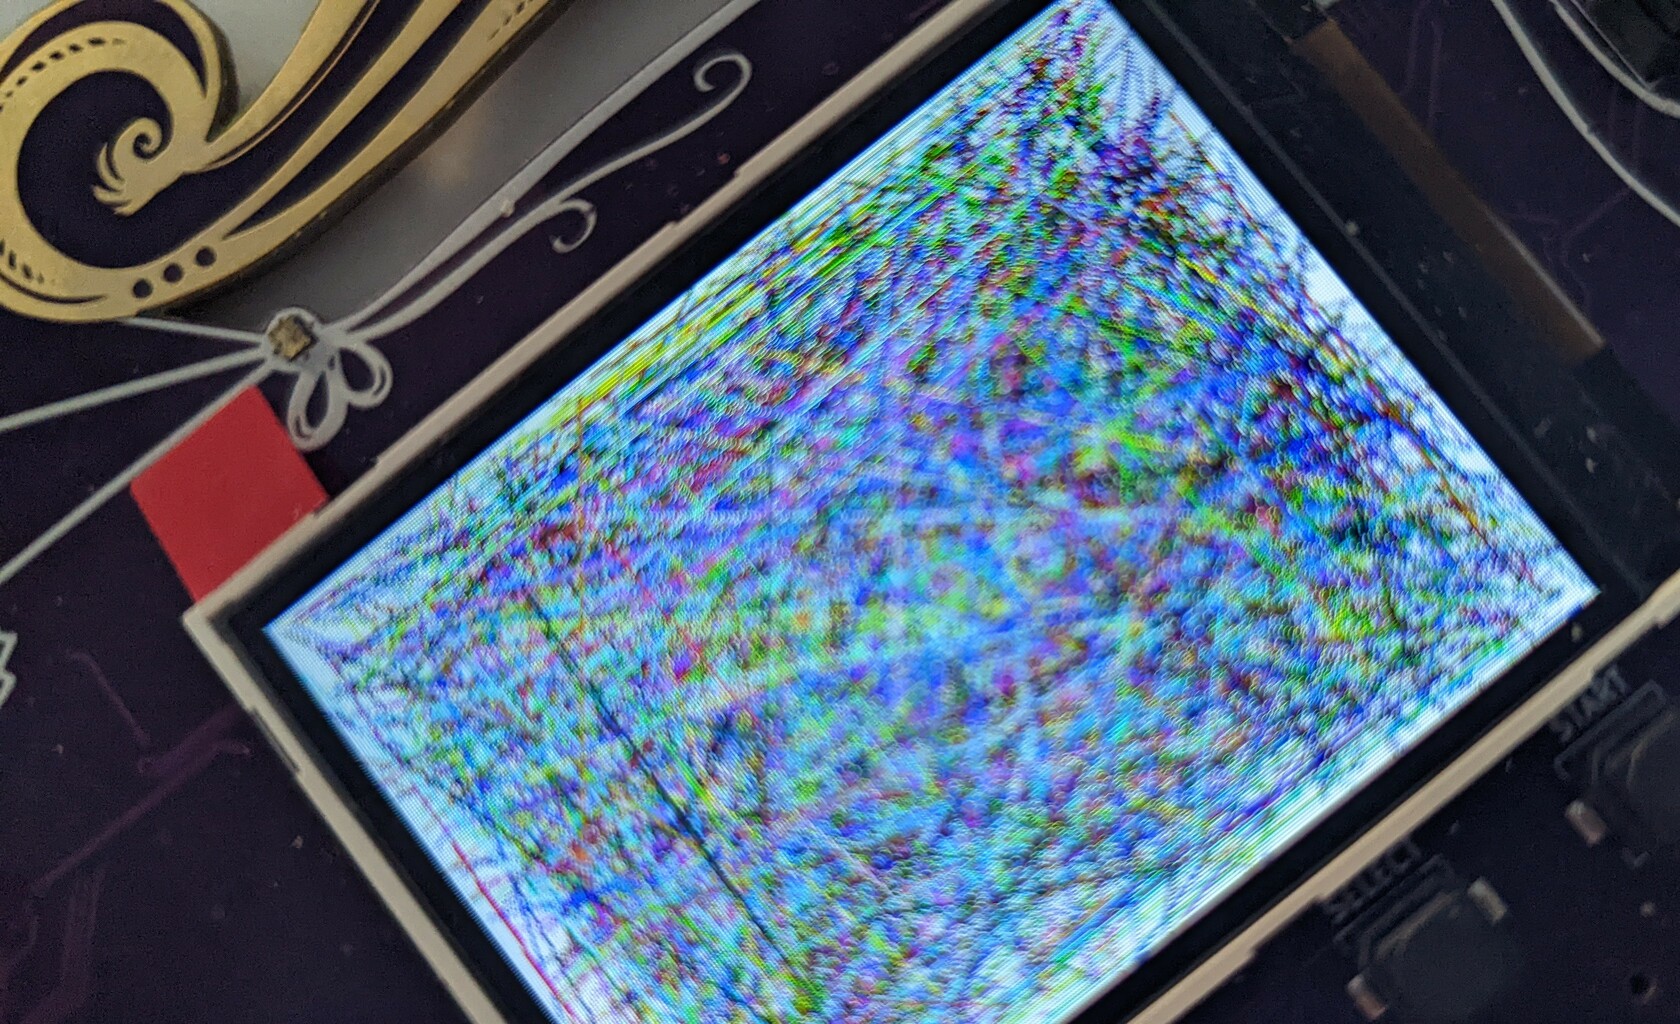
After uploading, you should be ready to launch your app on the Badge (apps ->
myapp) and see colourful lines on the screen. If your script contains errors,
you will typically see a crash message on screen. To see error messages,
connect your serial terminal (see above) to the badge before starting your app.
Be kind, rewind
Unfortunately, there’s no way to end the app yet, so you have to restart your
badge by power cycling it (or using the webusb_reset.py script in the tools
folder or uploading another file). Let’s add that by editing your __init__.py
file:
import display
import random
import buttons
import mch22

def reboot(pressed):
  if pressed:
    mch22.exit_python()

buttons.attach(buttons.BTN_A,reboot)

def drawRandomLine():
  x1 = random.randint(0,320)
  x2 = random.randint(0,320)
  y1 = random.randint(0,240)
  y2 = random.randint(0,240)
  color = random.randint(0,0xFFFFFF)
  display.drawLine(x1,y1,x2,y2,color)
  display.flush()

display.drawFill(0xFFFFFF)
while True:
  drawRandomLine()
The additional lines will add a key listener that will trigger a reset when the
A key is pressed.
Repeat the upload using the webusb_fat_push.py script. Restart your app. Done!
Publish your work!
After you’re done writing an amazing app (and writing an amazing README.md
with it), share it with others! The Hatchery is the
Badge’s “App store”. You can read about publishing eggs in the hatchery
here.